
Discover a simple routine to repair damaged bathroom tiles with easy tips for daily interior designers. Dive into an effective approach for a refreshed and stylish space.
How should I repair damaged tiles in my bathroom?
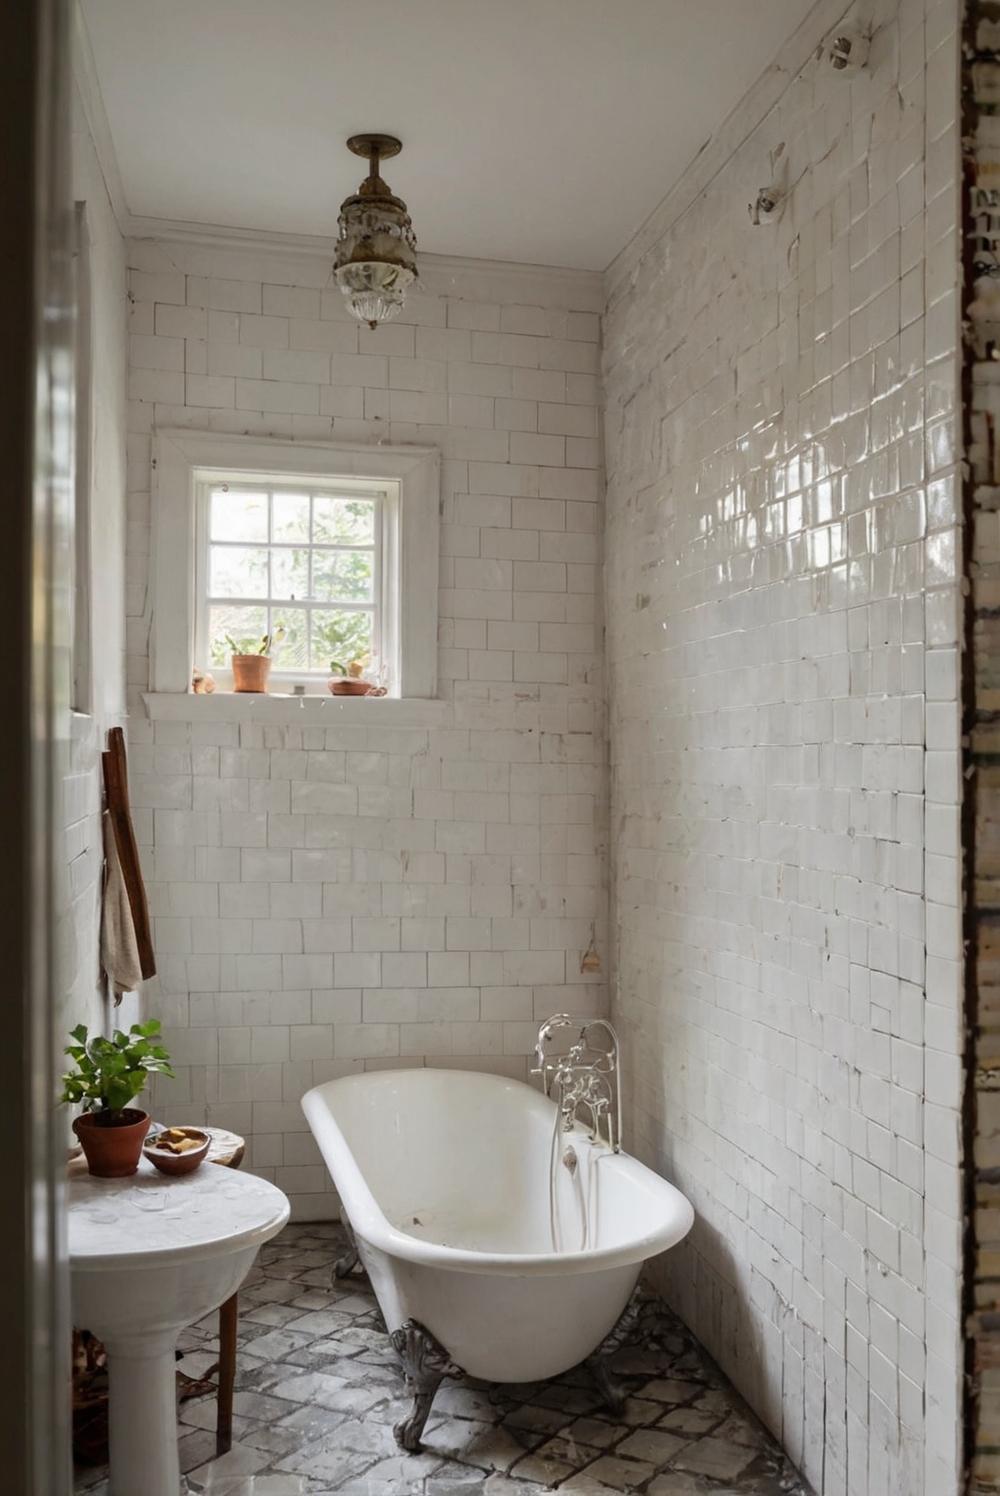
Answer: One way to repair damaged tiles in your bathroom is to remove the old tiles by carefully chiseling them off, then clean the area thoroughly before applying new tile adhesive. When selecting new tiles, consider the color and size to match the existing ones. Make sure they are securely in place and grout the gaps between them. This process will enhance the aesthetics of your bathroom and protect the walls or floors from moisture damage. Additionally, aligning the tiles properly and using a primer paint for walls before retiling can improve the longevity of the repair. Always be cautious of cuts from broken tiles during the removal process.
**Remember to prioritize safety measures when repairing damaged tiles in your bathroom to prevent any accidents or injuries.**
—
Key Highlights:
– Carefully remove old tiles
– Thoroughly clean the area
– Choose new tiles that match
– Apply tile adhesive and grout
– Enhance bathroom aesthetics and protect from moisture
– Align the tiles properly
– Use primer paint for walls before retiling
How to Repair Damaged Tiles in Your Bathroom
If you have damaged tiles in your bathroom, it is essential to repair them promptly to prevent further issues. Here are some steps to help you repair damaged tiles in your bathroom:
Assess the Damage
The first step in repairing damaged tiles in your bathroom is to assess the extent of the damage. Look for cracks, chips, or loose tiles that need to be repaired. Determine if the damage is localized or if it extends to a larger area.
Gather the Necessary Materials
Before starting the repair process, make sure you have all the necessary materials on hand. This may include replacement tiles, tile adhesive, grout, a putty knife, a grout float, and a sponge.
Remove the Damaged Tile
To repair a damaged tile, you will first need to remove the old tile. Use a putty knife to carefully pry up the damaged tile and remove it from the adhesive underneath. Be cautious not to damage the surrounding tiles during this process.
Prepare the Surface
Once the damaged tile is removed, clean the area thoroughly to remove any old adhesive or grout. Make sure the surface is smooth and free of debris before proceeding with the repair.
Install the New Tile
Apply a thin layer of tile adhesive to the back of the new tile and carefully press it into place. Use a grout float to ensure the tile is level with the surrounding tiles. Allow the adhesive to dry according to the manufacturer’s instructions.
Grout the Tile
Once the adhesive is dry, fill the gaps between the tiles with grout. Use a grout float to press the grout into the spaces and smooth it out. Wipe away any excess grout with a damp sponge before it dries.
Seal the Grout
To protect the newly repaired tile and grout, consider applying a grout sealer. This will help prevent staining and keep the grout looking new for longer.
Final Touches
After completing the repair, clean the tiles thoroughly to remove any leftover grout or adhesive. Step back and inspect the repaired area to ensure it blends in seamlessly with the rest of the tiles in your bathroom.
In conclusion, repairing damaged tiles in your bathroom is a manageable task that can be done with the right materials and a little effort. By following these steps and taking care during the repair process, you can restore the appearance and functionality of your bathroom tiles. Remember that prompt repairs can help prevent further damage and prolong the life of your bathroom tiles.