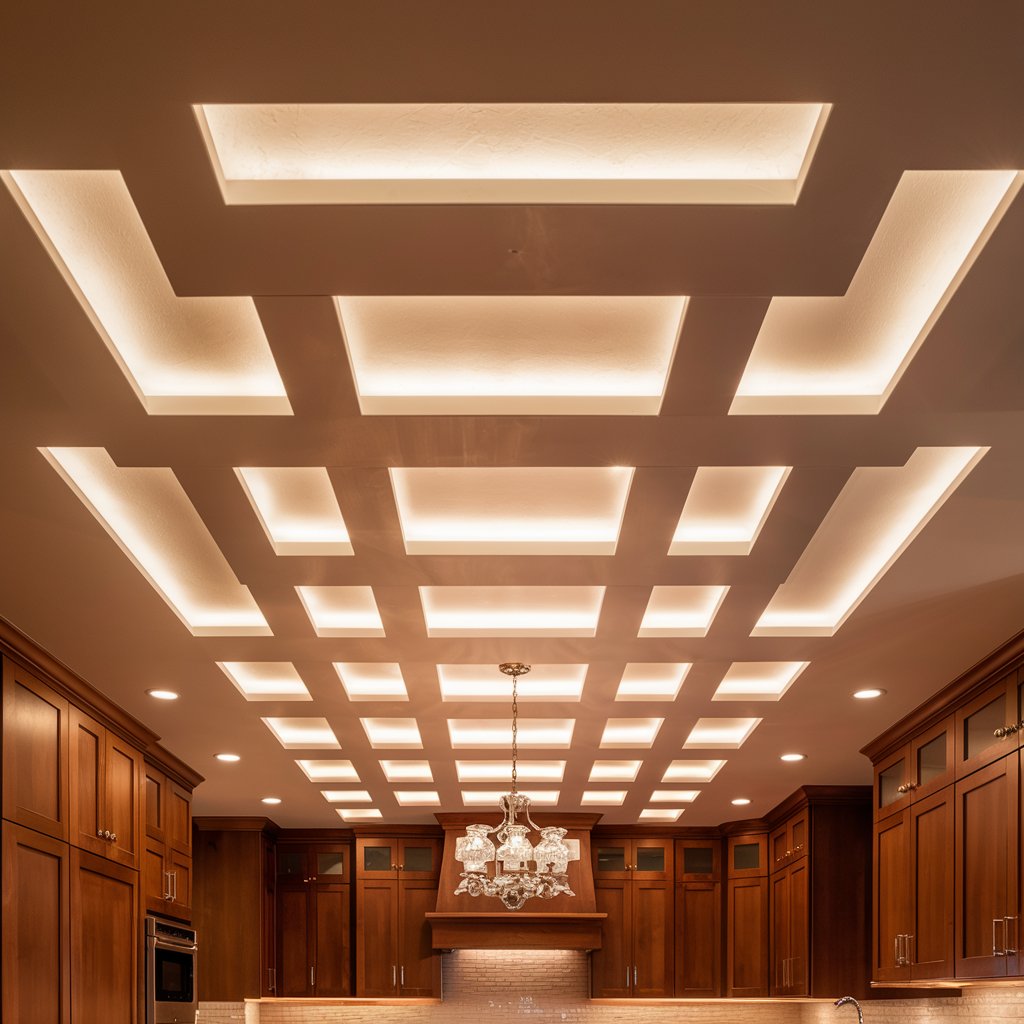
Recessed tray lighting can transform your kitchen by adding a soft, inviting glow that enhances the ambiance and highlights architectural features. Here’s how to create a warm glow with recessed tray lighting in your kitchen.
Understanding Recessed Tray Lighting
What is Recessed Tray Lighting?
Recessed tray lighting involves installing lights into a hollow ceiling space, known as a tray ceiling. This setup hides the fixtures, creating a clean and modern look while providing subtle, indirect lighting.
Benefits of Recessed Tray Lighting
- Enhanced Ambiance: Creates a cozy and inviting atmosphere.
- Space Illusion: Makes the kitchen appear larger and more open.
- Highlighting Features: Accentuates architectural details and decor elements.
- Energy Efficiency: Uses energy-efficient LED lights to reduce electricity costs.
Planning Your Recessed Tray Lighting
Determine the Lighting Layout
- Assess the Space: Measure your kitchen and identify key areas where lighting is needed.
- Design the Layout: Plan the positioning of the lights to ensure even distribution.
- Choose Light Fixtures: Select fixtures that fit your design aesthetic and functional needs.
Select the Right Light Color Temperature
- Warm White (2700K – 3000K): Ideal for creating a cozy and inviting ambiance.
- Cool White (3500K – 4100K): Better for task lighting but can still be warm.
- Daylight (5000K – 6500K): Not recommended for a warm glow, as it can be too harsh.
Installation Process
Preparing the Tray Ceiling
- Turn Off Power: Ensure safety by turning off the electricity to the kitchen.
- Mark the Layout: Use a pencil to mark where each light will be installed.
- Cut the Holes: Use a hole saw to cut openings for the light fixtures.
Installing the Lights
- Wiring: Run the electrical wiring through the ceiling to each marked spot.
- Mounting Fixtures: Install the light fixtures into the cut openings.
- Connecting Wiring: Connect the wiring to the fixtures, following manufacturer instructions.
- Securing Fixtures: Secure the fixtures in place and ensure they are flush with the ceiling.
Testing and Adjusting
- Turn On Power: Restore power to the kitchen and test the lights.
- Adjust Lighting: Make any necessary adjustments to the fixtures for optimal positioning.
- Install Dimmers: Consider adding dimmer switches to control the light intensity and create the desired ambiance.
Enhancing the Warm Glow
Adding Dimmer Switches
- Select Compatible Dimmers: Choose dimmers that work with your LED lights.
- Install Dimmers: Follow instructions to replace standard switches with dimmers.
- Adjust Lighting Levels: Use the dimmers to set the perfect lighting level for different times of day.
Incorporating Accent Lighting
- Under-Cabinet Lights: Install under-cabinet lighting to complement the recessed tray lights.
- Pendant Lights: Add pendant lights over kitchen islands or dining areas for additional warmth.
- Toe-Kick Lights: Use toe-kick lighting at the base of cabinets for a subtle, warm glow.
Maintaining Your Recessed Tray Lighting
Cleaning the Fixtures
- Turn Off Power: Ensure safety by turning off the electricity.
- Remove Dust: Use a soft cloth to remove dust and debris from the fixtures.
- Clean Lenses: Gently clean the light lenses with a damp cloth.
Replacing Bulbs
- Choose the Right Bulbs: Ensure replacement bulbs match the color temperature of the original bulbs.
- Follow Instructions: Carefully follow the manufacturer’s instructions for replacing the bulbs.
- Dispose Properly: Dispose of old bulbs in accordance with local regulations.
Checking Wiring
- Inspect Regularly: Periodically check the wiring for any signs of wear or damage.
- Hire a Professional: If you notice any issues, hire a licensed electrician to make repairs.
Conclusion
Creating a warm glow with recessed tray lighting in your kitchen is a fantastic way to enhance the space’s ambiance and functionality. By carefully planning the layout, selecting the right fixtures and color temperature, and following proper installation and maintenance procedures, you can achieve a beautiful and inviting kitchen lighting design.

