
Learn how to easily install and adjust an adjustable shower curtain rod to add a stylish touch to your bathroom, part of the daily routine for an interior designer.
To install and adjust an adjustable shower curtain rod, start by measuring the length of your shower area and adjusting the rod to fit. Then, install the brackets securely using a drill and screws. Place the rod into the brackets and adjust the length as needed. Be sure to tighten all screws to ensure the rod is stable.
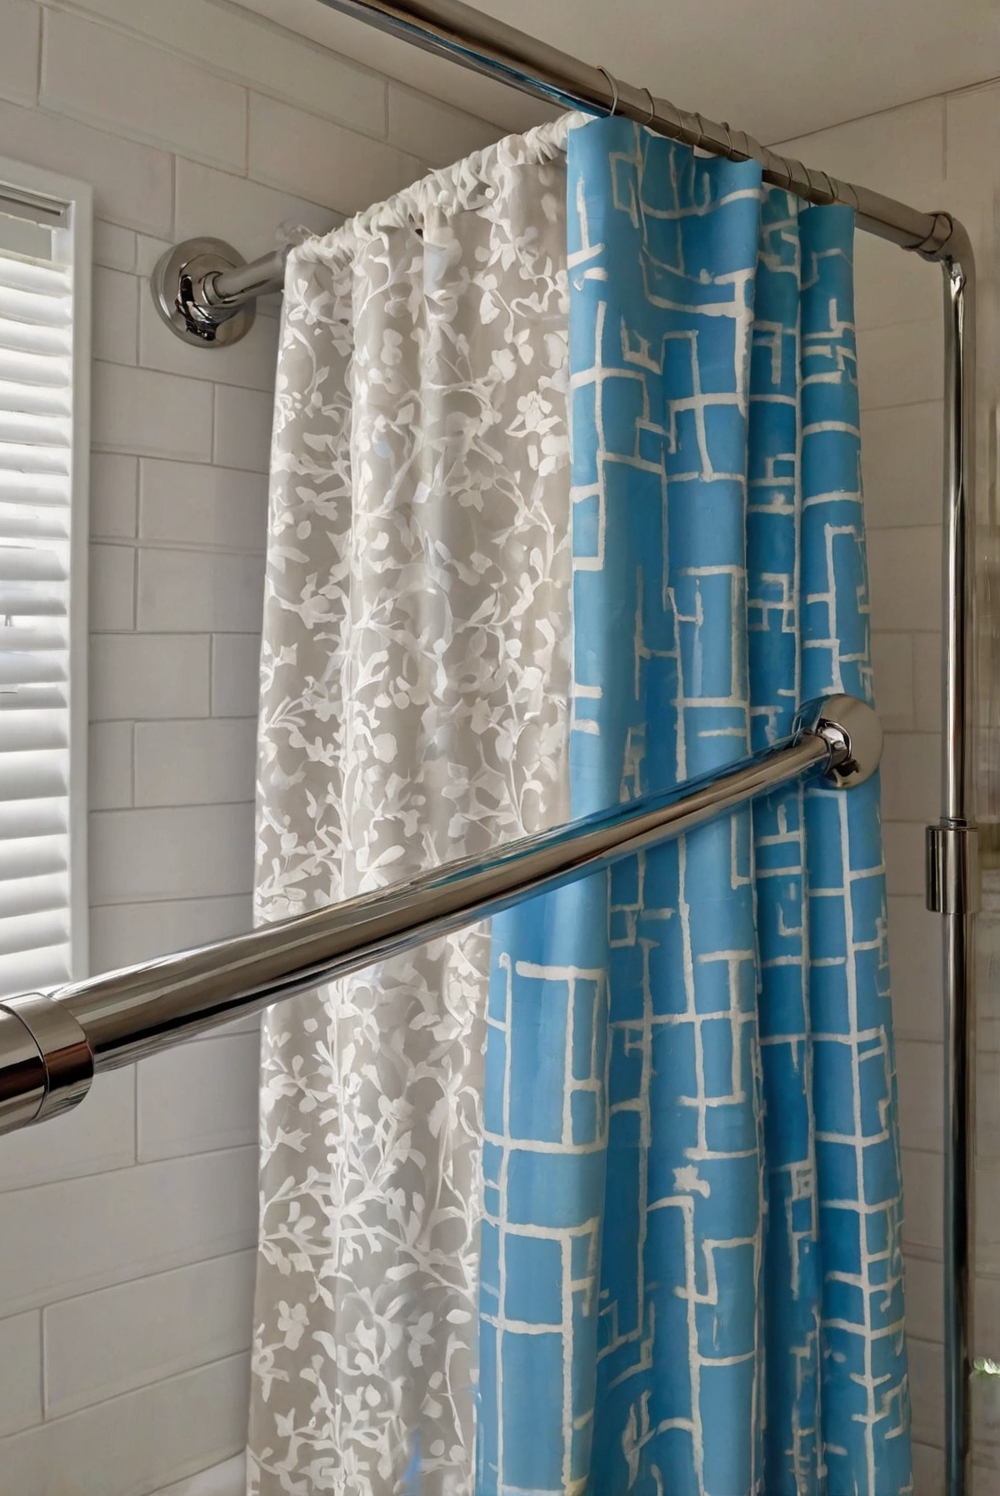
When installing a shower curtain rod, make sure to select a style that complements your bathroom decor. Consider the finish of the rod and how it will match with other fixtures in the space. Additionally, be mindful of the weight capacity of the rod to prevent it from falling.
It’s also important to measure the distance between the rod and the ceiling to ensure there is enough clearance for the curtain rings to slide smoothly. Consider using a level during installation to ensure the rod is straight.
Overall, installing an adjustable shower curtain rod is a simple DIY project that can enhance the look of your bathroom while providing practical functionality.
How to Install and Adjust an Adjustable Shower Curtain Rod?
Measure the Space:
Before installing an adjustable shower curtain rod, it’s essential to measure the space where you plan to install it. This will ensure that you select the right size rod and prevent any issues during installation.
Choose the Right Rod:
When selecting an adjustable shower curtain rod, choose one that fits the measurements of your space. Consider the material of the rod, such as stainless steel or aluminum, for durability and longevity.
Prepare the Area:
Prepare the area where you will install the adjustable shower curtain rod by cleaning the walls and removing any existing hardware. This will provide a clean surface for installation and ensure a secure fit.
Install the Adjustable Shower Curtain Rod:
Once you have selected the right rod and prepared the area, it’s time to install the adjustable shower curtain rod. Follow these steps to ensure a proper installation:
– Position the rod at the desired height and mark the placement of the mounting brackets.
– Use a level to ensure the rod is straight before securing the brackets to the wall.
– Attach the rod to the brackets and adjust the length as needed to fit the space.
– Test the rod to ensure it can hold the weight of the curtain without sagging or falling.
Adjust the Curtain Rod:
After installing the adjustable shower curtain rod, you may need to adjust it to ensure a proper fit. Follow these steps to adjust the rod:
– Loosen the tension mechanism on the rod to allow for adjustment.
– Extend or retract the rod to fit the space properly.
– Tighten the tension mechanism to secure the rod in place.
– Test the rod to ensure it can hold the curtain securely without slipping or shifting.
In conclusion, installing and adjusting an adjustable shower curtain rod is a straightforward process that can be completed with basic tools and a little bit of time. By following the steps outlined above, you can successfully install and adjust an adjustable shower curtain rod in your bathroom. Remember to measure the space, choose the right rod, prepare the area, install the rod correctly, and adjust it as needed for a perfect fit. With these tips, you can enjoy a functional and stylish shower curtain rod in your bathroom.