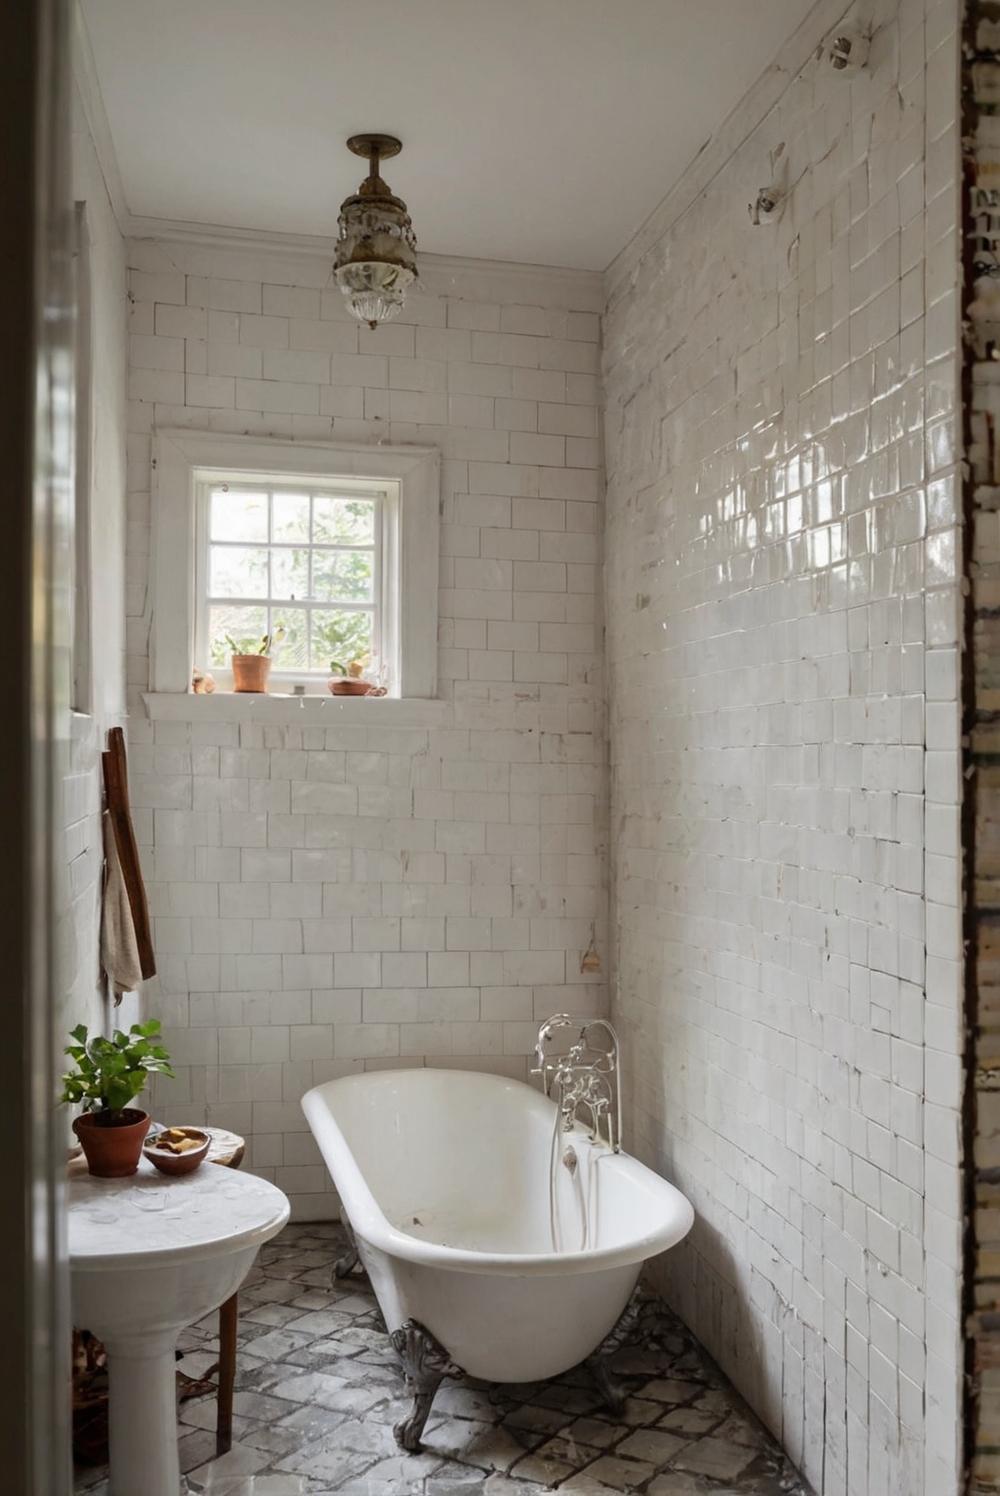
Are you wondering how to repair damaged tiles in your bathroom? Explore this daily routine for interior designers to learn convenient decor solutions for your tile troubles.
To repair damaged tiles in your bathroom, start by assessing the extent of the damage. If there are just a few cracked or chipped tiles, consider filling in the cracks with tile adhesive or filler. For more extensive damage, you may need to remove the damaged tiles and replace them with new ones. Make sure to match the new tiles with the existing ones in terms of size, color, and texture.
Before starting the repair work, ensure you have the necessary tools and materials such as a tile cutter, adhesive, grout, and a grout float. Properly prepare the surface by cleaning the area and removing any debris or old adhesive.
When applying the new tiles, use a level to ensure they are aligned correctly. Once the adhesive has dried, finish by grouting the tiles to seal the gaps and create a clean finish. Finally, clean off any excess grout with a damp sponge.
While repairing damaged tiles can be a straightforward process, it is essential to take necessary precautions to avoid damaging surrounding tiles or causing injury. If you are unsure about doing the repair yourself, consider consulting a professional to ensure a quality finish and long-lasting results.
How should I repair damaged tiles in my bathroom?
If you have damaged tiles in your bathroom, it’s essential to address the issue promptly to prevent further damage and maintain the aesthetics of your space. Here are some steps you can take to repair damaged tiles in your bathroom:
Assess the Damage:
Before starting the repair process, carefully assess the extent of the damage to determine the best course of action. Look for cracks, chips, or loose tiles that need attention.
Gather the Necessary Supplies:
Once you’ve assessed the damage, gather the necessary supplies for the repair. You may need replacement tiles, tile adhesive, grout, a putty knife, and a sponge.
Remove the Damaged Tile:
Use a putty knife to carefully remove the damaged tile from the surface. Be gentle to avoid causing further damage to the surrounding tiles.
Clean the Area:
After removing the damaged tile, clean the area thoroughly to ensure proper adhesion of the new tile. Remove any old adhesive or grout and make sure the surface is smooth and free of debris.
Install the Replacement Tile:
Apply tile adhesive to the back of the replacement tile and press it firmly into place. Use spacers to ensure proper alignment with the surrounding tiles. Allow the adhesive to dry according to the manufacturer’s instructions.
By following these steps, you can effectively repair damaged tiles in your bathroom and restore the beauty of your space. Remember to take your time and pay attention to detail for the best results.

